Blink Cameras require the Sync Module to establish a connection to the Network. But what if the Sync Module can't connect to the WiFi anymore?
Just recently, my Blink Sync Module had trouble connecting to my Home WiFi. Upon further inspection and after spending much time troubleshooting the issue, I fixed it.
If your Blink Sync Module won't connect to WiFi, check the network settings and power cycle the Sync Module. Connect the Sync Module only to the 2.4 GHz band WiFi. Deleting the Sync Module and re-adding to the System could work. Factory Resetting the Sync Module could also prove to be helpful.
Here are the many scenarios by which Blink Sync Module fails to connect to WiFi:
| Scenario | Causes and Fixes |
|---|---|
| Sync Module cannot detect WiFi | Proximity issue; relocate the devices closer to each other |
| Sync Module cannot sustain a WiFi connection | Power related issue; check the power supply and power cycle the Module |
| Sync Module connected to WiFi but no internet | Network issue; check for network issues, reset the network on the Module |
| Other Scenarios | Remove and re-add the Module on the app, factory reset the module |
With that said, here are the many troubleshooting fixes to resolve this issue on your Sync Module:
Check the Cables and Power Supply on the Blink Sync Module

One of the prime reasons the Sync Module fails to connect to a network is inadequate power supply.
And the problem may not necessarily be with the Sync Module. The culprit can be the power adapter or the cables.
With a disruptive power supply, the Sync Module will put up resistance against performing even the most basic of tasks like connecting to a network.
And without a stable power supply, the Sync Module won't be able to host Blink Cams, which under any other circumstances, would be a great way to disable Blink cams without the app.
And so, it is advised to check the power supply situation on the Sync Module before doing anything else.
Run a thorough check for crooks, kinks, wear and tear, and even signs of corrosion on the Power Cable.
If you find anything unusual on the accessories, immediately replace them with fresh new ones.
Check for rust and faulty inputs on either end of the cable, even on the ports of the Sync Module and the Power Adapter.
If the power outlet is at fault, you can verify it by switching the output to another outlet.
Power Adapters can also go wayward and not supply adequate power to the Sync Module.
A good check for such cases is to power another Sync Module (if you have one handy) with the errant power adapter.
If you get similar results on the latter, too, it's best if you replace the power supply.
Here's a video walkthrough from us to help you troubleshoot WiFi connection issue on your sync module:
Power Cycle the Sync Module

One of the more effective fixes for issues on the Sync Module is to refresh it, especially in the earlier stages of troubleshooting issues.
This fix can also help if your Blink camera won't connect to Sync Module or in case of software issues such as Blink Network Request failed.
From long hours of restless running or bugs and errors acquired with time, the Sync Module can become unresponsive and put up problems.
Power cycling the Sync Module is the best option at your disposal for this issue.
The Power Cycle test is pretty much refreshing your device but in a more efficient manner. In doing so, the device depletes all its piled-up static charges, which makes it more efficient.
Here's how to do so:
1. Unplug the power supply from the Sync Module.

2. Leave it idle for a few seconds; a minute will also do.
3. Plug back in the power supply after the time has elapsed.
Wait half a minute before powering the Sync Module. Check for the issue now.
Move the Sync Module Closer to the Router

Signal strength between the Sync Module and the Router determines how effective and proper a connection is.
Position the Sync Module far away from the scope of the Router Coverage, and you shall have issues with the Network and the Cam like Blink Cam not recording at night.
And so, the closer the proximity, the better the connection.
But in doing so, keep in mind a couple of factors that could affect the network connection.
First, when moving the Sync Module to a new location, always be aware of its connection strength with all your existing Blink Cameras.
A Sync Module can connect up to 10 Blink Cameras in and around a 100 feet radius.
You may also want to steer the Sync Module away from other wirelessly communicating devices.
Smart Home appliances and gaming consoles are some of the prime examples of such hindrances.
Keeping these factors in mind, move the Sync Module closer to the Router for a stable connection.
Check the Status of the Network

Now let's deal with the opposite end of the spectrum - the Network.
A stable internet connection is the most crucial aspect of Blink Systems. Failing to satisfy this critical aspect of Blink devices can land your device in trouble, like Blink Cam failing to update.
Blink devices do not demand a lot of bandwidth or network speed, unlike most other wirelessly communicating devices.
All it requires is a paltry download/upload speed of 2 Mbps.
You can run a speed test on your Network to analyze the current status of the network parameters.
Access a speed-testing application from the application store or through a browser.
Once you run the test, you get an accurate real-time status of various networking characteristics like network speed, latency, and signal strength.
If any of these parameters seem a bit off the mark, it's high time you refresh the Router/Modem.
Power Cycle the Router/Modem
Much like how we refreshed the Sync Module, let's power cycle the Router/Modem, too.
If the Network seems unstable, power cycling the Router/Modem could bring it back to its stable self.
Follow these steps to do so:
1. Unplug the Router/Modem from power, and leave it to rest for a few seconds.
2. Press the Power Button on the Router for a couple of seconds. Repeat this step a couple of times.
3. Plug back in the power supply and power ON the Router/Modem.
Now, run the speed test once again on the Network. If everything seems stable enough, try connecting the Sync Module once again.
Configure the 2.4 GHz WiFi Band

As you may already know, Blink Systems only works on the 2.4 GHz WiFi band for communication and data transfer.
They don't work on the 5 GHz band.
And so, it is vital to keep the band stable and unfettered from traffic-induced issues.
If and when the traffic on the band exceeds the threshold, the Network becomes unstable and slow.
In such cases, better shift the traffic from the 2.4 GHz band to another more accommodating band.
The 5 GHz band is more flexible in handling traffic without affecting the network characteristics like speed or latency.
With the traffic quandary taken care of, let's now configure the band credentials for the Blink Sync Module:
Change the SSID and Password

Older Sync Modules, specifically the Gen 1 Sync Modules, had issues connecting to a network with special characters in their SSID or password.
Nowadays, you are encouraged to supplement your passwords with special characters to enhance security.
But a few years back, Electronic gadgets were designed to adhere to simple passwords and lackluster names.
A good fix for this issue is to reconfigure the network credentials.
Here's how to change the SSID and the password of your Network:
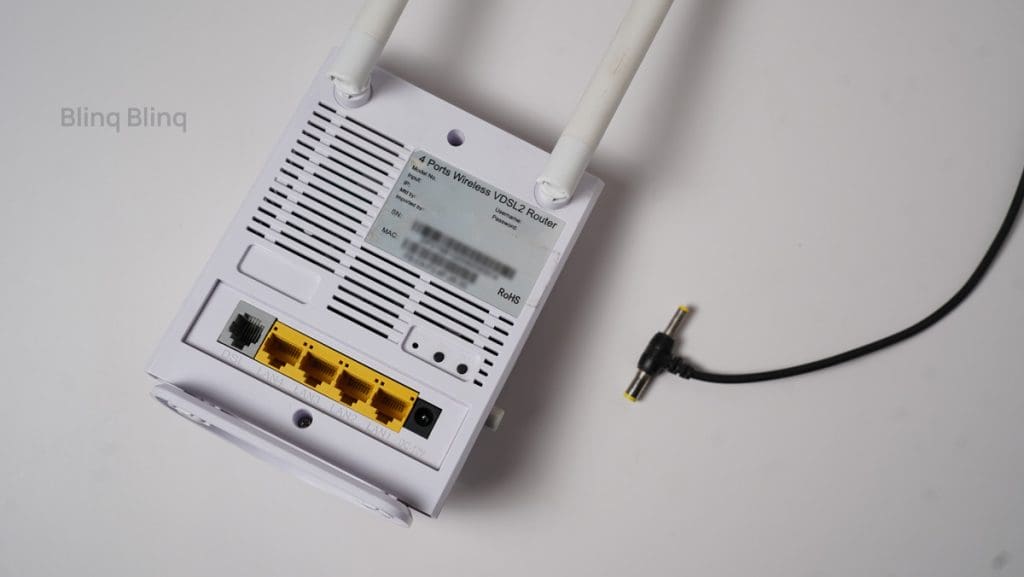
1. Open the Portal interface of your Router/Modem through the associated app or by entering the IP address of the Router onto a browser. (Find the IP address on the back of the Router/Modem)
2. Enter the login credentials to enter the portal.
3. Click open the Wireless/Settings menu.
4. Navigate to the 2.4 GHz band.
5. Change the SSID and Password to something simpler. Avoid using special characters like "!@#$%^&* and long spaces.
Distinguish the 2.4 GHz band from the 5 GHz band with distinct nomenclature.
6. Click on Save/Apply to confirm the changes.
Exit the portal and refresh the Router. Now connect the Sync Module to the Network.
Switch the Channels on the Network

Another fix for this issue is to switch the band Channels on your Network.
WiFi bands come with a few Channels that facilitate the efficient transfer of data to and from the client devices and the ISP.
Choosing the right Network Channel can be tricky. The problem with the Channels is that most of them are susceptible to interference from adjacent Channels.
By default, your Network may automatically select the Channels. This implementation can lead to improper communication.
And so, if the Sync Module won't connect to the Network, try switching the Channels.
Here's how to do so:
1. Open and log into the Router portal.
2. Click open the Wireless tab. On some OEMs, access this tab from the Advanced Settings tab.
3. Scroll down to the Channels section of the 2.4 GHz band.
4. Switch the toggle from Auto to either 1st, 6th, or the 11th Channel.
5. Apply/Save the changes and exit the portal.
Refresh the device and check for the issue now.
Disable VPNs, IP Masks, and Network Filters on the Network

VPNs can severely affect the bandwidth allocation and the latency of the Network. So do Network filters and masking software.
If you can't connect the Sync Module to the Network, disable all the filters enabled on your Network.
Most VPNs and Network filters come to life through their associated software.
You can easily disable them from the associated app.
If you enabled a VPN on a Router level, log in to the Router portal and disable them from within the portal.
While inside the Router portal, you may also want to look at MAC ID filters like Blacklist and Whitelist.
Blacklisted devices can't access the Network due to their revoked status. If you find a Blink device in this list, do yourself a favor and clear it from the list.
Other Network filters may require ISP authorization to be disabled. Contact your ISP to do so.
How to Change Network on Blink Sync Module
Now that we have configured the Network to work best with the Sync Module, it's time to sync up the Network to the Sync Module once more.
Also, you can switch the Network to another one to verify issues with the Sync Module.
If you can switch the Network on the Sync Module and if it does work, the problem may be with the Router/Modem. If not, you might want to consider the chances of your Sync Module being faulty.
Either way, here's how to change the Network on your Sync Module:
1. Open the Blink app and tap on the Sync Module offline banner. If there is no such banner, tap on the Sync Module tile.

2. Select the Change WiFi Network option.

3. Verify that the Sync Module is blinking Blue and Solid Green.
4. Tap on Discover Device.
5. Select Join and select a Network.
6. Enter the Password and tap Join.
7. Upon successful pairing, the Success message will pop up. Tap on Done to complete the setup.

If you were not able to connect to the Network, try these fixes next:
Delete the Sync Module from Blink System
An efficacious fix for resolving most issues with the Sync Module is deleting it from the System and re-adding it.
In doing so, you essentially remove the Sync Module from the System. Hence, all the Cameras synced up to the Sync Module will become inactive.
Be that as it may, you won't lose the Cameras. They only become inaccessible until or unless you pair them to a Sync Module.
Follow these steps to delete the Sync Module from the Blink app:
1. Open the app and switch the System to the one with the errant Sync Module.
2. Tap on the Sync Module tile.
3. Select the Delete Sync Module option from the bottom of the page.

4. Scan the QR code from the back of the Sync Module. You can also manually enter the Serial number.

5. Tap on Delete to remove the Sync Module.
Before you add the Sync Module back to the Blink System, perform a factory reset as an added measure.
To add the Sync Module to the Blink System, tap on the '+' Add device>Blink camera System. Follow the onscreen prompts to complete the setup.
Factory Reset Blink Sync Module
The final step in this guide on troubleshooting the Network issue on Sync Module is to factory reset it.
And being an essential aspect to sync and stream/record multiple Blink Cams, factory resetting the Sync module could also help resolve issues with the Cam like Blink Photo Capture not working.
By factory resetting the Sync Module, you revert the device to its factory condition, free of undesirables and personal preferences.
You also forgo all retaining Network preferences. Thus, giving you another chance and establishing a Network connection anew.
Follow these steps to factory reset the Sync Module:

1. Locate the Reset button on the Sync Module. You can find it on the back or next to the USB port.

2. Press and hold the Reset Button until the LED flashes RED. (use a paper clip or similar pointy tool to press the Reset button)
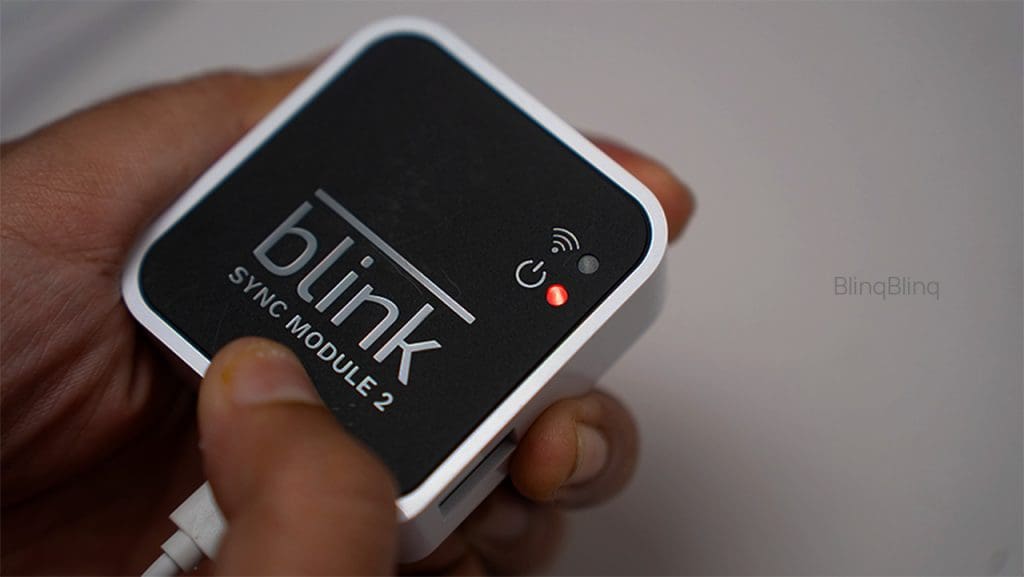
3. Once the LED turns Solid Green and Blink Blue, the reset is complete.

You can now add the Sync Module to the Blink app and sync it up with the Network.
Final Thoughts
Encountering Network issues on the Sync Module can eat up a lot of your time to fix it.
Since the room for error is plenty, zeroing in on the root cause can be a taxing affair.
Regardless of the cause, the fixes mentioned here will help you resolve this issue on the Sync Module.
If the issue still persists, it's best if you contact Blink support for any further assistance.
On the off chance, the Sync Module itself is damaged, RMA it and get a brand-new one.
Frequently Asked Questions (FAQ)
Can you use a Blink camera without a sync module?
Blink models, like the Blink Mini and the Video Doorbell, can be used as standalone devices without connecting to the Sync Module. You can, however, use them in tandem with the Sync Module as well.
Can Blink connect to 5GHz?
No, Blink devices do not work with the 5 GHz WiFi band. You can only use the 2.4 GHz band for communication and data transfer.

![Blink Cameras Failed To Arm: How To Fix [2023]](https://blinqblinq.com/wp-content/uploads/2022/10/1-22-450x300.png)
![Blink Camera Flashing Green: How To Fix [2023]](https://blinqblinq.com/wp-content/uploads/2022/10/1-36-450x300.jpg)


![Blink Activity Zones Not Working: How to Fix [2023]](https://blinqblinq.com/wp-content/uploads/2022/10/1-15-450x300.png)
Comments
The comments are closed.